 DYI PLACEMATS FOR KIDS
Hooray for DIY projects!!! It makes Christmas fun and affordable. This Christmas is the first one where one of my kids can actually make a Christmas gift that actually is and looks looks like Christmas gift verses a glob of loveable goobly gunk that comes from the heart. So to get us in the spirit of things….I know…I KNOW. It’s November. But when you make everyone’s Christmas presents you have to start early. I should have started earlier.
My girls have multiple young cousins and this year we are making them DIY placemats. But not just any placemat. This placemat is educational. This placemat for kids makes mommies happy. On one side it has the child’s name. (hooray for ABCs/learning to read!) on the other side is a table setting example that teaches children how to set their own place at dinner. A gift that keeps on giving to moms everywhere!!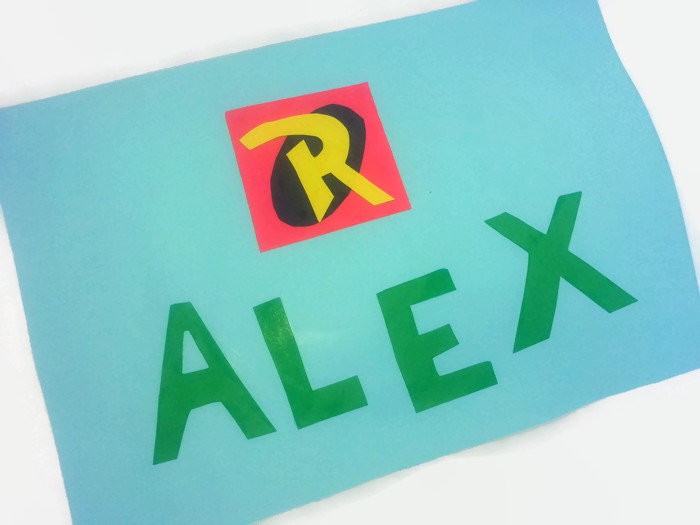
WHAT YOU NEED
- Poster board of any color (we choose blue for the boys)
- Construction paper
- Scissors
- Modge pogde
- Foam glue brush
- 1 knife, 1 fork, 1 spoon, 1 plate, 1 cup
- 1 actual placemat or 1 ruler
- Clear Shelf Liner or laminate
INSTRUCTIONS
- You can cut your placemat to be any size you want (thus the ruler.) I however choose the lazy way and took a placemat of mine and traced it on the blue poster board paper. You should be able to fit two placemats on a standard poster board poster found at the grocery store. Cut these out.
- Next pick a theme for your placemats. The cousins love Batman and Robin so those were our theme. We cut the logos out on construction paper. I just winged it by looking at images on Google, but if your nervous your drawing abilities, you can print images and trace it onto construction paper before cutting. Also cut their names out in construction paper of your choice.
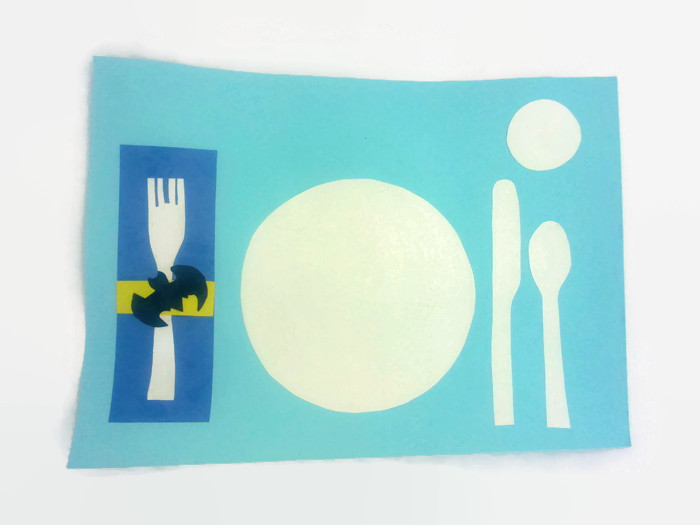
- Than I traced the fork, knife, spoon, cup, and plate onto white construction paper. Cut those out.
- Cut out a rectangle for the napkin. We wanted to jazz things up a bit so we added a batman and robin themed napkin ring. You do not have to do this but you can if you want. Size of napkin should be larger than the fork.
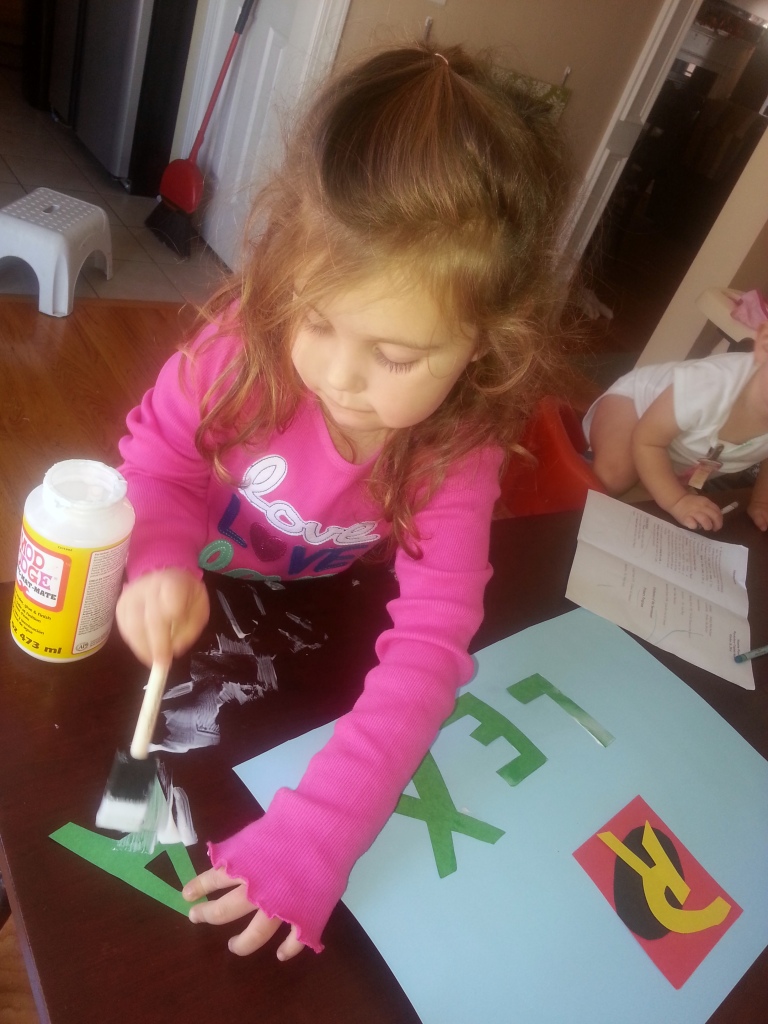
- Now you are ready to begin gluing. This is really where my daughter was able to help. (She is not quite there yet with cutting accurately.) Decide where everything fits on the poster board. (feel free to use ours as a template. Start with the “place setting” side. With the foam brush, paint the back of the cup, fork, knife, spoon, plate, napkin, napkin ring* in place. My daughter LOVED this. It’s like painting and messy. What more could a kid want. Help your child place the items and teach them about proper place settings at the same time.
- Let “place setting” side dry. If you leave it for longer than 20 mins (mine needed it because it took a bath in glue….) be sure to clean your brush so it doesn’t dry out.
- Turn the board over and with foam brush, brush glue on the backs of the letters and any additional decoration you desire. We selected the batman and robin logos.
- Set to dry.
- Once dry, adults take the clear shelf liner and use as a laminate. Completely cover one side with the clear shelf liner. Be sure to leave excess on each side.
- Turn over and cover the other side with laminate as well. I recommend leaving about 1/4″ of laminate overhang. This will prevent water damage. The laminate makes this easy to kids to clean their placemats as well. Cut so it is even on all 4 sides.
- Happy gift giving!
Do not submerge placemats in water. 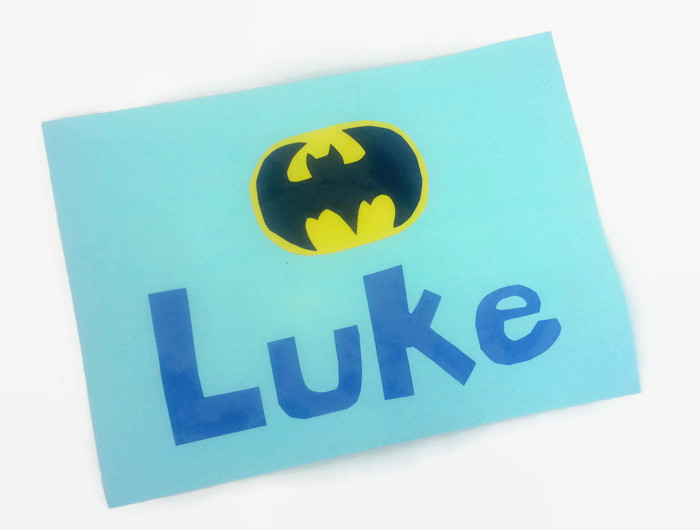 As Always, if you like what we do and you like what you read, please check out our Etsy shop! Our Handmade Magnetic Paper dolls make great stocking stuffers as well as our felt necklaces!

